
Once you’re done creating your PowerPoint presentation, you sure want to share it with the world. However, if you don’t protect it, anyone can copy, print, or edit your presentation. To safeguard your intellectual property, you must learn how to lock a PowerPoint.
First, open your PowerPoint presentation and click on the ‘File’ tab. Select the ‘Info’ option and choose ‘Protect Presentation’. Click on ‘Encrypt with Password’ and set a secure passcode. Re-enter the passcode to confirm and select ‘Save.’ Now your file is secure and only people with a password can open it.
Let’s dive in and explore all the easy and secure ways to protect a PowerPoint.
How Do You Lock a PowerPoint? – 4 Easy Methods
Depending on the level of security you want, there are multiple methods to choose from. You can lock the file to protect it from unauthorized editing, copying, or viewing. Before getting into the details, here’s a quick overview of which method to choose and when:
| Locking Method | Features & When to Use | Security Level |
| Turn on the Read-Only or Final Mode | Basic locking feature for preventing accidental changes; users can opt-in to edit | Low |
| Protection with Encrypted Password | To prevent unauthorized access, users can open only with a password | High |
| Restrict or Open Access for Selected Users | Only the selected persons will be able to open or change the file | Medium |
| Locking PowerPoint Objects | Locks certain shapes, images, and other PowerPoint objects to prevent moving them accidentally | Medium |
Method 1: Turn on the Read-Only or Final Mode
By applying this method, you let the readers or visitors know this file is not supposed to be changed or edited. As you lock the file, it can prevent accidental displacement of elements.
While this is the fastest way to lock a PowerPoint, it’s not highly secure. People can opt-in to edit by choosing the ‘Edit Anyway’ option. Here’s the locking process:
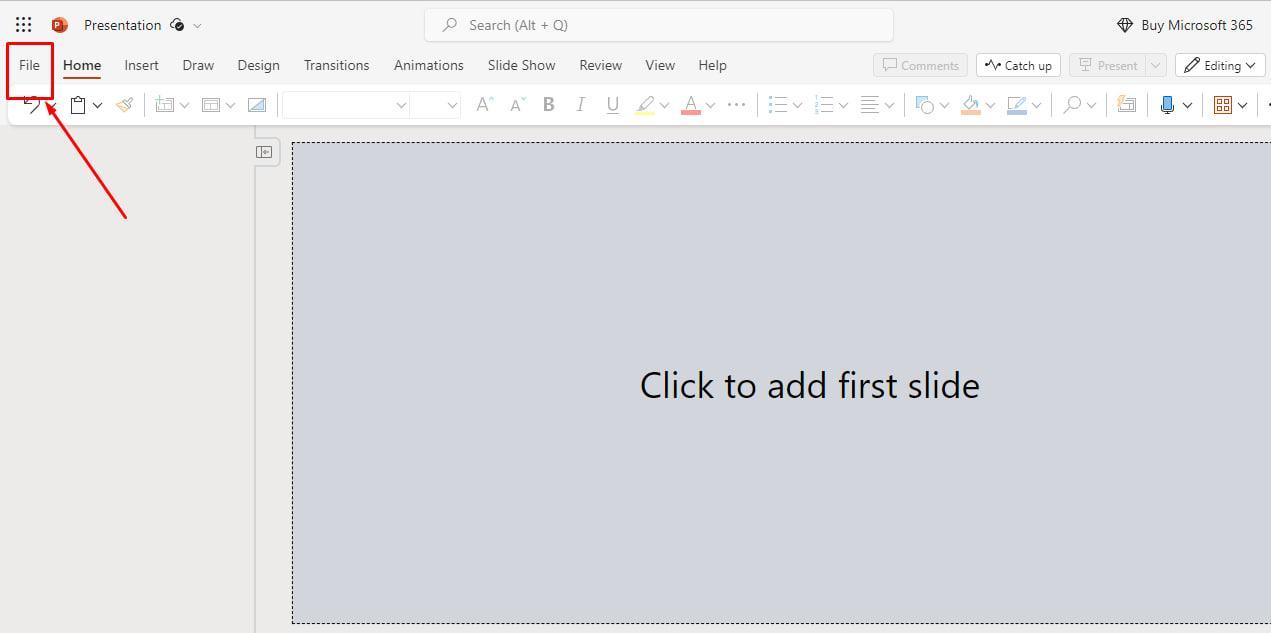
- Open the PowerPoint presentation you want to lock and locate the ‘File’ tab. You can find it in the top left corner of your screen. Click on it, and a ribbon will appear with multiple saving and editing options.
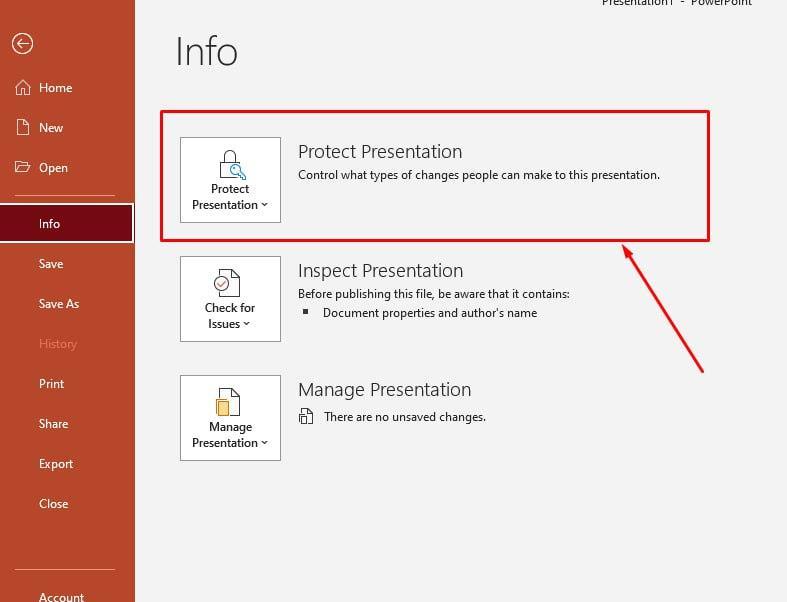
- From the ribbon on the left side of the page, select ‘Info’ and choose ‘Protect Presentation’ from the given options. Now, you’ll see a drop-down menu with 5 security options.
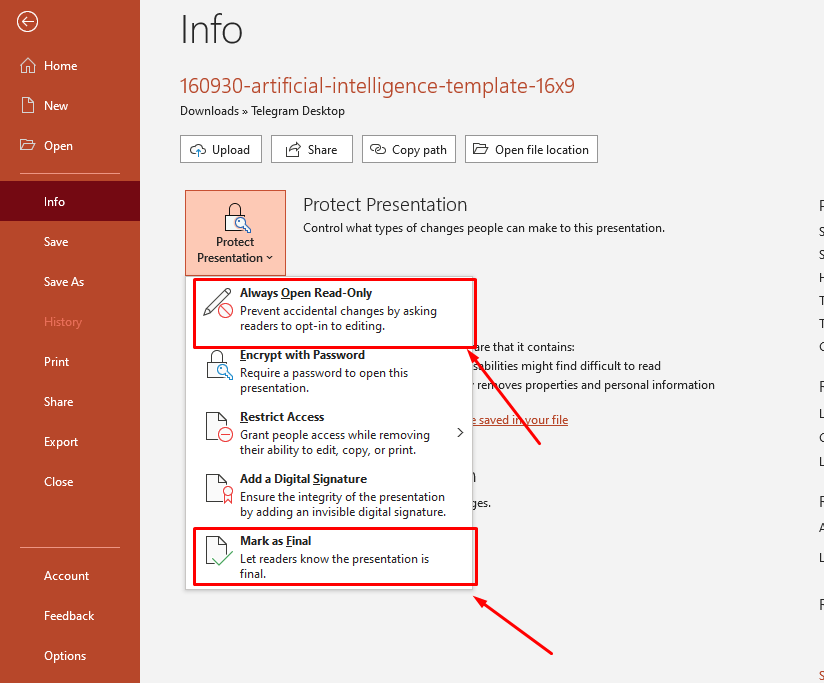
- The first option is ‘Always Open Read-Only’. Select it to prevent accidental changes in your PowerPoint. If multiple users are editing the presentation, you can select the ‘Mark as Final’ option instead. It will let everyone know this is the final draft, and it shouldn’t be edited.
Method 2: Protection with Encrypted Password
This is easily the best method of locking PowerPoint when it comes to security. As you set a password for the file, viewers must enter it correctly to unlock the file and edit it. Below is the easy way to do it:
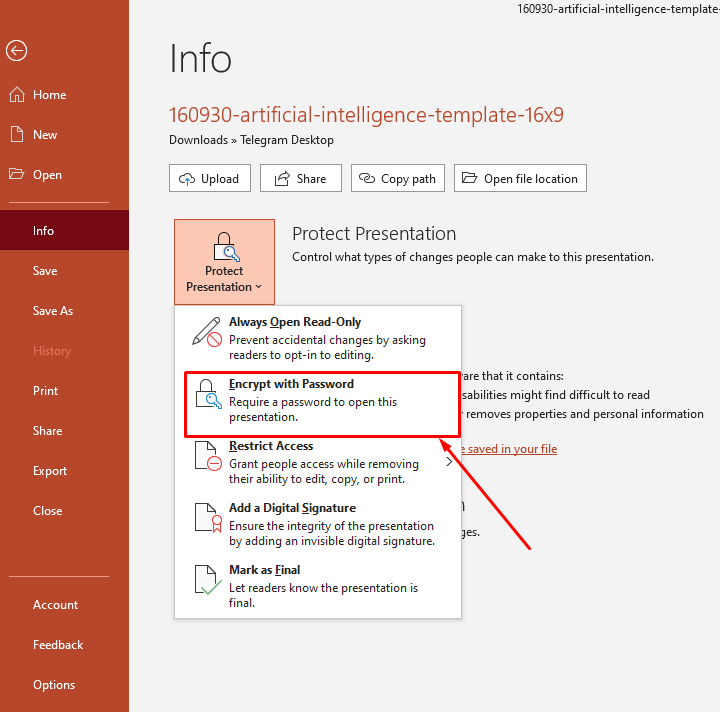
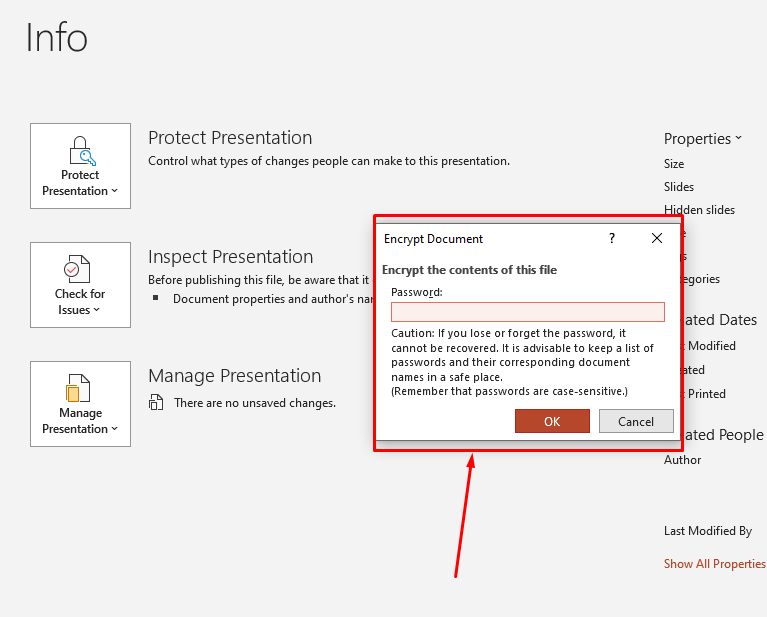
- On the file tab, click on the ‘Info’ option. Go to ‘Protect Presentation’ and click on ‘Encrypt with Password’.
- From the encrypt document dialogue box, you need to set a password to lock the file. Type the password in the blank field and click ‘OK.’
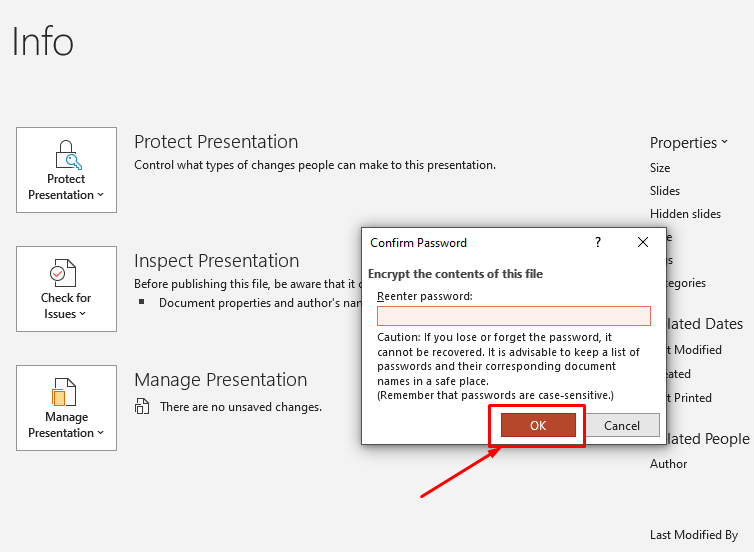
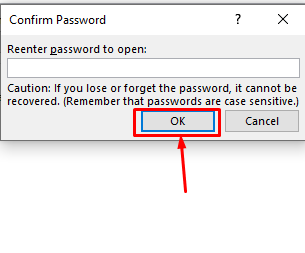
- A new dialogue box will arrive for confirmation. Retype your password and hit ‘OK’. Now you’ve locked the PPT file, and only the viewers with the correct password unlock it.
There’s another way to set a password and lock the PowerPoint presentation. Here’s how it goes:
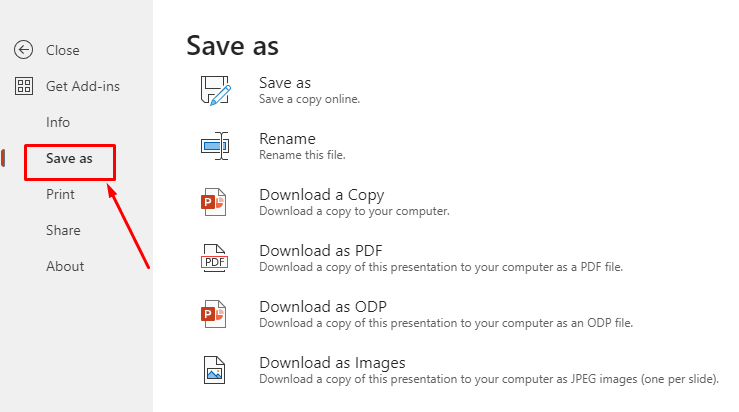
- From the top left corner, select the ‘File’ option and click on ‘Save As.’ You can also use the keyboard command ‘Ctrl + Shift + S.’
- Choose a suitable location to save your PowerPoint. Instead of clicking ‘Save,’ choose the ‘Tools’ option right beside it. From the drop-down menu, click on ‘General Options’.
- At this point, you can see two blank fields on your screen. You have the option to either select the ‘Password to open’ or ‘Password to modify’ field. While the first one prevents unauthorized people from opening the file, the second one prevents editing and printing.
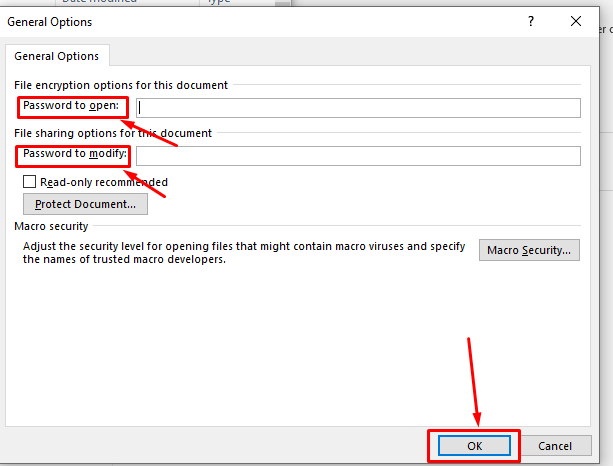
- Type a strong yet memorable password in your selected field and click ‘OK.’ A new prompt will arrive asking to confirm the passcode. Fill the blank with the passcode you’ve used before and hit ‘OK’ to lock the PowerPoint presentation successfully. Here is a video of it.
Method 3: Restrict Access for Selected Users
While this method offers high security, it’s a bit difficult to proceed with. To give or restrict access for only some selected users, you must connect to RMS or Rights Management Service.
The feature includes the integration of Microsoft Office, and it’s only available for team members of certain faculty. Once you connect to the RMS, follow the steps given below:
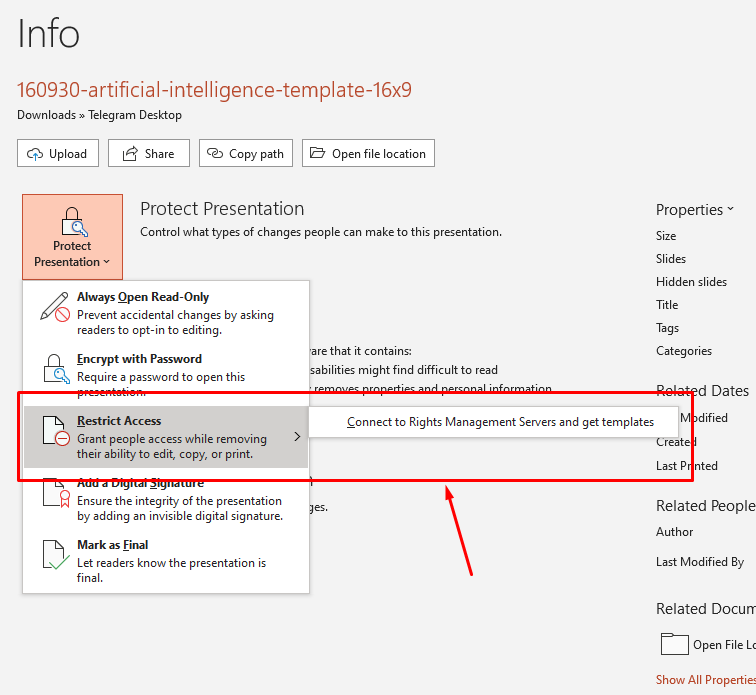
- Go to the ‘File’ tab and select ‘Info’. Click on ‘Protect Presentation’ and you’ll see all the security options arrive on a drop-down menu.
- Choose the ‘Restrict Access’ option that allows selected people to open your PowerPoint. However, even the authorized members won’t be able to edit, copy, or print it unless you allow them. From the new dialogue box, tick on the checkbox beside the ‘Restrict Permission to this presentation’ option.
- Add people you want to give access to read the PowerPoint in the field beside the ‘Read’ option. You can also open the edit option for selected persons using the ‘Change’ field. Click ‘OK’ when you’re done.
Method 4: Locking PowerPoint Objects
A new PowerPoint feature allows you to lock specific objects in the file. With this method, you can prevent shapes, graphics, images, titles, and 3D objects from moving. For this:
- First, insert the object you want to lock. Let’s say you’ve inserted your preferred shape in your presentation. Right-click on the shape to select it and get the shortcut menu. From the menu, select ‘Lock,’ and the item will be locked from editing.
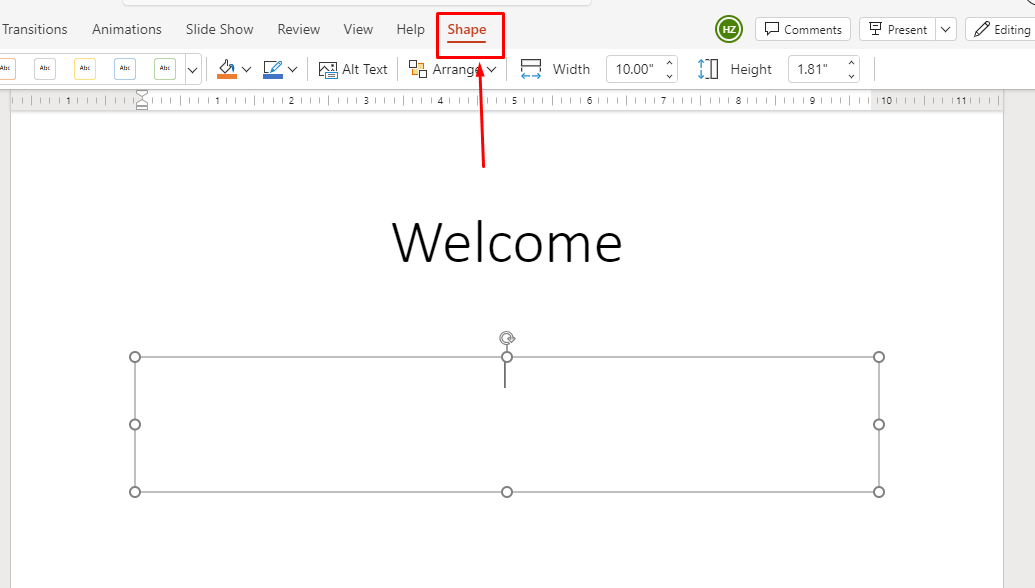
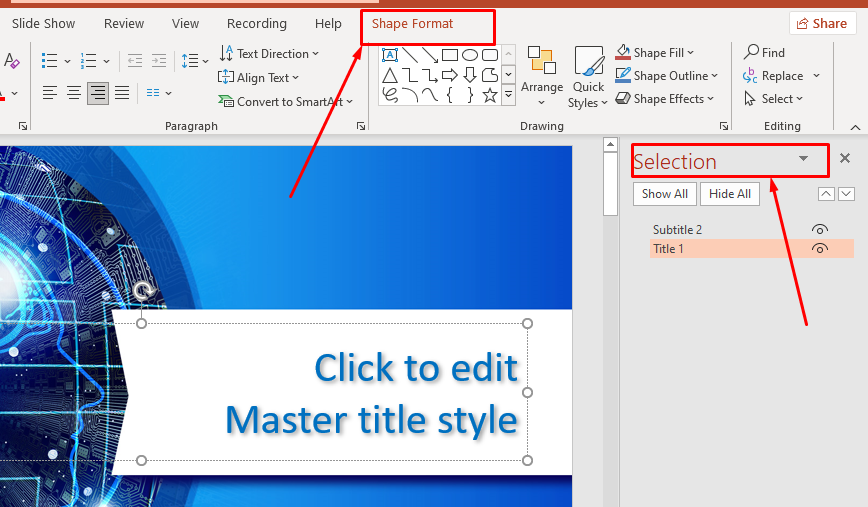
- Another way to lock the shape is to choose the ‘Shape Format’ menu. Click on ‘Selection Pane’ to see the name of the shapes or objects you’ve used in the file. Select the lock icon beside the specific object you want to lock.
Final Words
No need to worry about how to lock a PowerPoint anymore, as we’ve discussed all the different ways here. If your goal is to lock the file from viewing, set an encrypted password or use the restricted access feature. For basic security, you can simply set the ‘Read-only’ or ‘Mark as Final mode.’
All the methods described here are easy and free of cost. Although there are third-party tools to lock a PowerPoint presentation, such tools can be costly and unreliable. So, stick to the methods mentioned above to keep your PPT files secure.